
I just now used this potholder. It was knitted up this last month and I was fairly disappointed in the design so it just sat by my knitting waiting to undergo scrutiny on what all needs to be changed. But just now I needed to grab the tea kettle off of the wood stove and it was handy and thicker than my shirttail. I love it!
I loved using it so much just now that I had to stop doing what I was doing Dear Reader, and tell you all about it!
There are lots of things I will be changing when I make another one very much like this one. But the thickness (it is knitted in the round, so it is double thick) and the flexibility over stuffed quilted fabric…I love!
I knitted several potholders over the last three months and I truly love the whole process of creating them. Today was the first time I actually put the one I am keeping (because it is a bit of a mess) to use. Well, other than flapping the ones I did make together, pantomiming actual use, kind of like testing it out before I gave them away.

These are three of my first potholders I made from a pattern found on Drops Yarn. These snowmen all went out as Christmas presents to my three married daughters. Two more snowmen, not shown, also went out: my first one and the only one done exactly (okay, nearly) as the pattern said, went to a niece; and one made with a bright lime green hat went to our friends the Bowermans. Those two not pictured had the crocheted edging that was called for, where the ones above have attached i-cord for edging.
It was fun to give them as gifts and so pleasing to knit, most likely I will make more again next year, but the whole point to making these potholders has been to learn colorwork.
I’ve been meaning to learn color stranded knitting, especially after having learned how to do Swedish twinned knitting, but push came to shove when Bet posted, er, pinned on Pinterest (I do not pinterest, I have enough magazines with hoped for recipes and patterns and DIY’s marked with post-its to last an actual “Completer” a short life-time) these amazing mittens and claimed that she would have them by next year. You can go see her “pin”, I can’t for the life of me get an image here of it.
If you went to see it, you can see where the pattern for the top potholder came from. As I made up my first snowman potholder all I could think of was making up my own stranded colorwork patterns. As I worked more and more I went right past the fantasy of making Bet her wished for mittens and right on to sweaters. Oh, I’ll make the mittens, the gauntlet has been thrown down. If you went to Bet’s pin page, you may have notices that she said, “These will be my mittens for Next Year”. She did not accidentally capitalize the “N” in next and the “Y” in year.
We have an ongoing joke around here Dear Reader, I may have even wrote about it out-right or you may have picked up on it, Bet’s and my anthem that often rings out around here after a perceived failure or on the heals of realizing an idea that comes too late for right now, “Next Year”. Our constant repeating of our anthem finally culminated in our promise to ourselves to make a “Next Yearbook” (pun on Yearbook intended) filled with all the things we promise to do better or just actually do. Apparently the making of said book should be the first page!
My first attempt at a my own stranded color pattern were three evergreen trees like the three snowmen. (No pics, it too went out quickly like my very first snowman to another niece.) Learned a lot on that one about translation from the chart into actual knitting. In the sky above the trees, the gold stars turned into several small flocks of gold birds. Yikes!

The robin that I did was slightly modified and with something completely different on the back. And as you can see if you went to the picture of Bet’s-wished-for mittens, I changed up the branches for an all over background pattern. Yeah, don’t like the “check” so that will change back to branches. I also tried a three color cast on, wow doggy did it get tight tension. The pulled together top isn’t a photo distortion, it is a knitting tension distortion. That will need to be fixed.

This is the back of the robin. The pattern was a compilation of some stranded colorwork motifs that I wanted to try and a few I invented. Most stranded colorwork is done with two colors, but of course that can’t do for me, I wanted to tackle three colors all at once, nearly immediately. No one said it couldn’t be done (as if that would have even stopped me) and the original robin on the mittens were clearly done working three colors across the rows that included the robin and his branches. So, of course I figured I could too.
Between learning stranded color knitting, three stranded colors, attached i-cord, attached two color i-cord and making my own patterns, I’ve learned a ton, and made myself a little tool as well.
Somewhere in the whole learning stranded colorwork, I did read about how you need to keep your background color and your image color in certain positions. Side note: Most people do stranded colorwork (often just called fair isle, incorrectly) using both hands to hold the two working yarns. I cannot, without completely ruining the flow of my knitting, use my right-hand, and I am supposedly, right handed. When I first began knitting again as an adult, I taught myself pik knit or continental knitting, simply because I knew if there was not a better way than “throwing” the yarn, I would not be able to become a real knitter. Trust me, I take that word “throw” to a whole nuther level Dear Reader, throw usually includes the needles as well.
I could not for the life of me figure out even from tutorials on Drops on stranded colorwork continental style, how to keep the two colors separate for background and image. And my first snowman taught me that I really did need to. It wasn’t until I read someone’s blog about some other knitting problem that I came across a tool called the Norwegian Thimble. I actually found a couple of styles on Amazon, but even ordering speedy get here as quick as possible, it wouldn’t get to me that night so… I made my own.

Ta-da. I cut the finger off of a dollar store knit glove in our Glove Box and put stitch markers into the fabric to act as my thread holders. How do I remember where the background thread goes? Blue = B = background yarn. The pink and white are insignificant colors, just different from B.

The potholders are knitted in the round, my preferred method of knitting. The sides then are closed but the bottom and top are open, the original pattern called for stitching them together with a yarn needle and then bordering the whole pot-holder in a crocheted shell. I don’t mind doing either but…

I figured since I like putting an i-cord loop in the corner for hanging, surely I could put i-cord all the way around. So I searched until I found attached i-cord.

Sure enough, it’s doable. And because you pick up stitches, to make the i-cord attach, you can pick up two stitches, one from each side of the opening, and make the attached i-cord also close the openings. My adventures into attached i-cord and certainly-there-must-be-i-cord-using-more-than-one-color musings, I found candy-cane i-cord and attached it!

All pretty much making my latest design pretty Christmassy with the whole Scandahovian Dala Horse thing going and yet,

very St. Valentiney as well. Which works great in my world since several certain selections of my Christmas décor stays out until after St. Valentine and the burning desire for snow. But, all that quirky business for another post if, I haven’t already told you about my crazy trickle out decorations and slowly put away bit by bit, thing I do.
Well Dear Reader, I loved telling you about what I was doing all November, December and January instead of writing. But now, I really must get back to making sense of all my seed packets and deciding how many of what tomato and pepper seeds varieties I plant the day after tomorrow when it warms up enough for the Hippy Hot Hut to get my seeds off to a good start.

I think the petunias I planted January 26th are a fail, in spite of bottom heat mats,

wood stove going twenty-four hours and a propane heater at night right next to the seed bench.

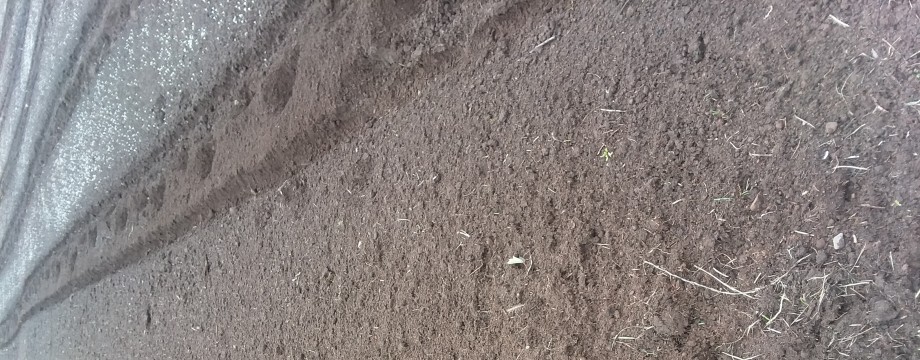
The onions came up fine and

even the begonias are bustin’ out (little pink nibs in the center of the pic). But all that for another post, soon Dear Reader, soon. I admit, I gotta get this no-writing bus turned around and turned around quick. I don’t like not writing.